So, for Mother’s Day, Mom wanted some spice racks. Well, the plastic ones on Amazon weren’t very good looking (in my
humble opinion) so I decided I was going to build some for her instead. Of course, I just finished them last weekend,
but I DID get the first of three to her on Mother’s Day! Hey, and the last two came early for her birthday!
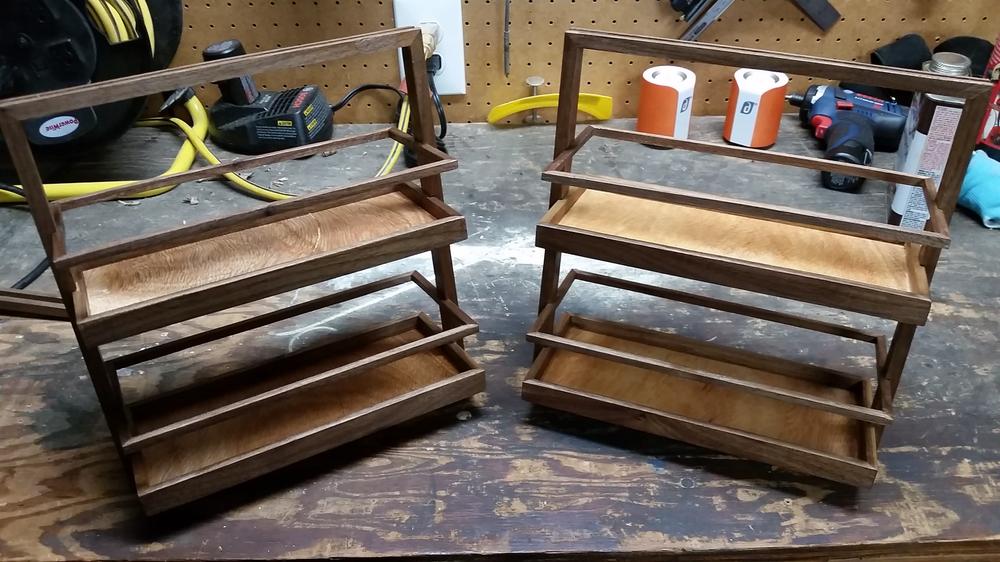
In the picture above, you’re looking at the side of the spice rack. They go on the shelf rotated 90 degrees from that,
so you’re looking at them from the end. They ride on tracks and slide in and out. Each of the bins stores about 10
normal-sized spice jars (like the McCormick size), so there’s a total storage space of ~60 jars, with flexibility to
store different sized and shaped containers.
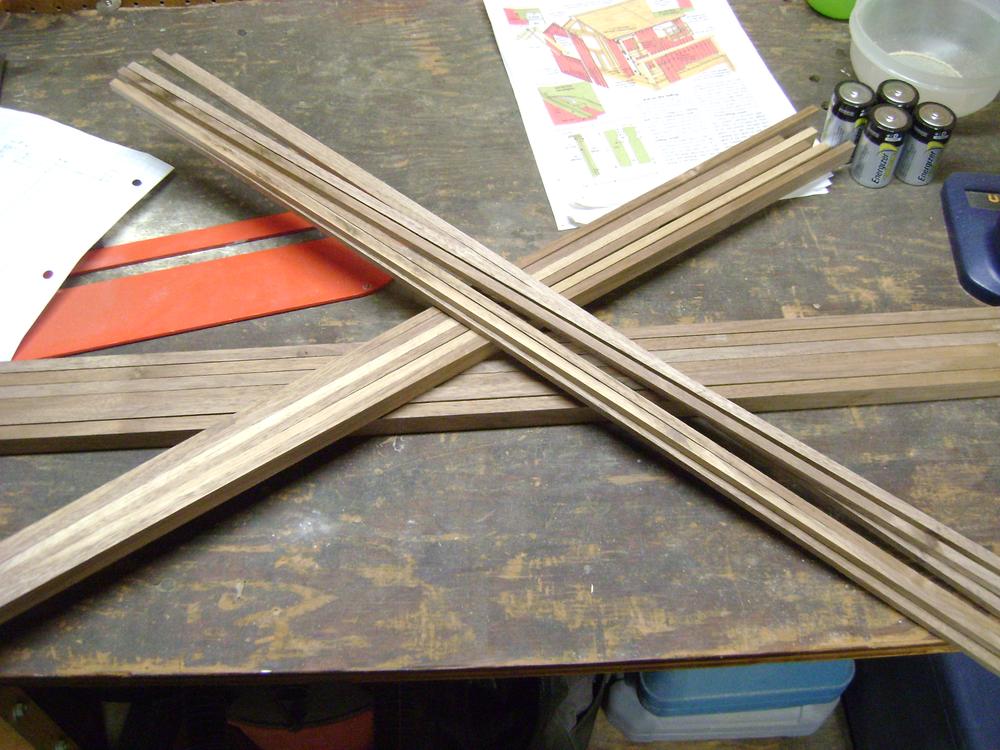
Any rate, they’re built out of solid walnut and… damned if I can't remember the name of the wood, but it's a
plywood.
Update: Mahogany! It was mahogany!
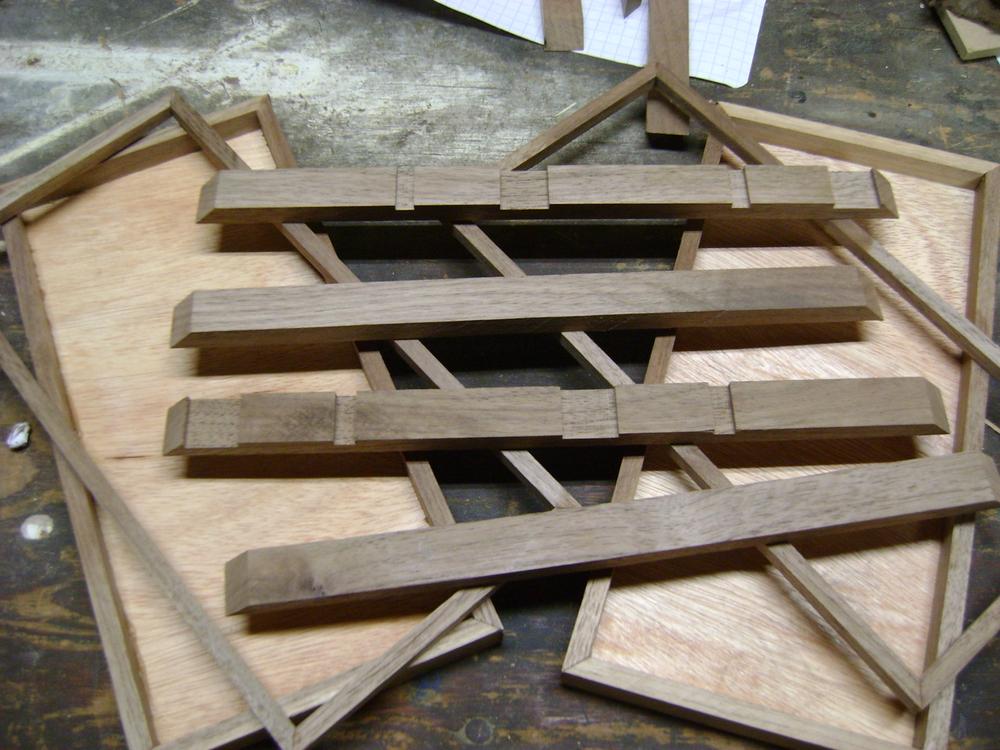
First, I had to cut the walnut into a bunch of uniform strips
Then mitered the ends of the strips so I could make the squares. This was made pretty easy using my cross cut sled and
the blade leaned over 45 degrees. Note, for even better accuracy, I should have built a miter sled instead, but… I
didn’t.

Then, cut the ply to size, cut some dadoes for it to live in, and assemble the boxen
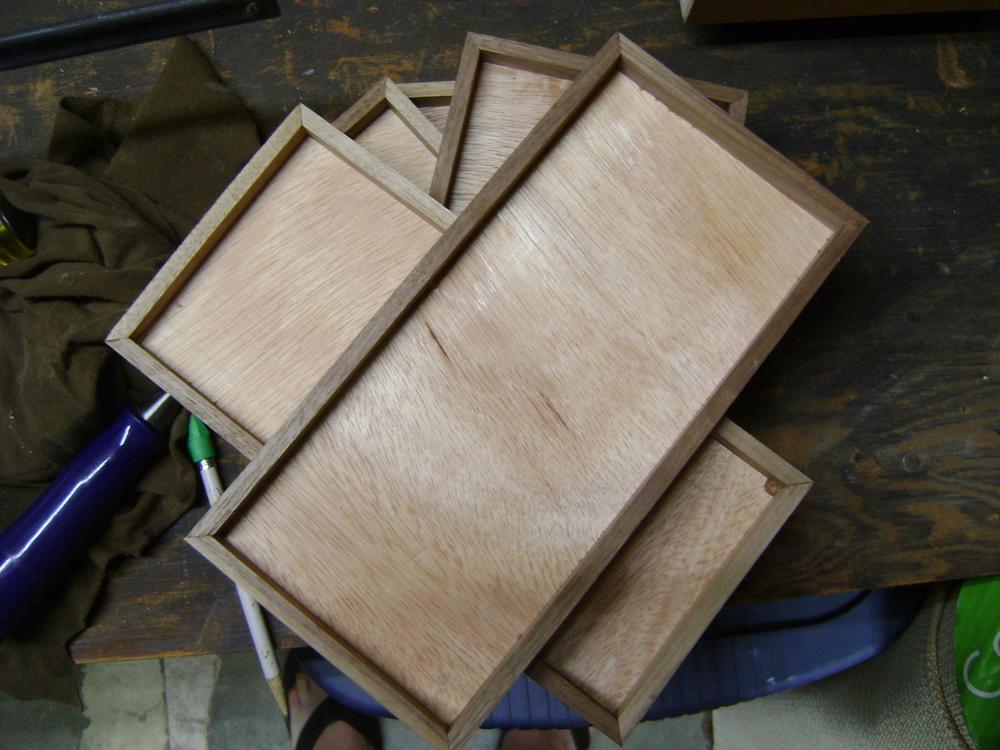
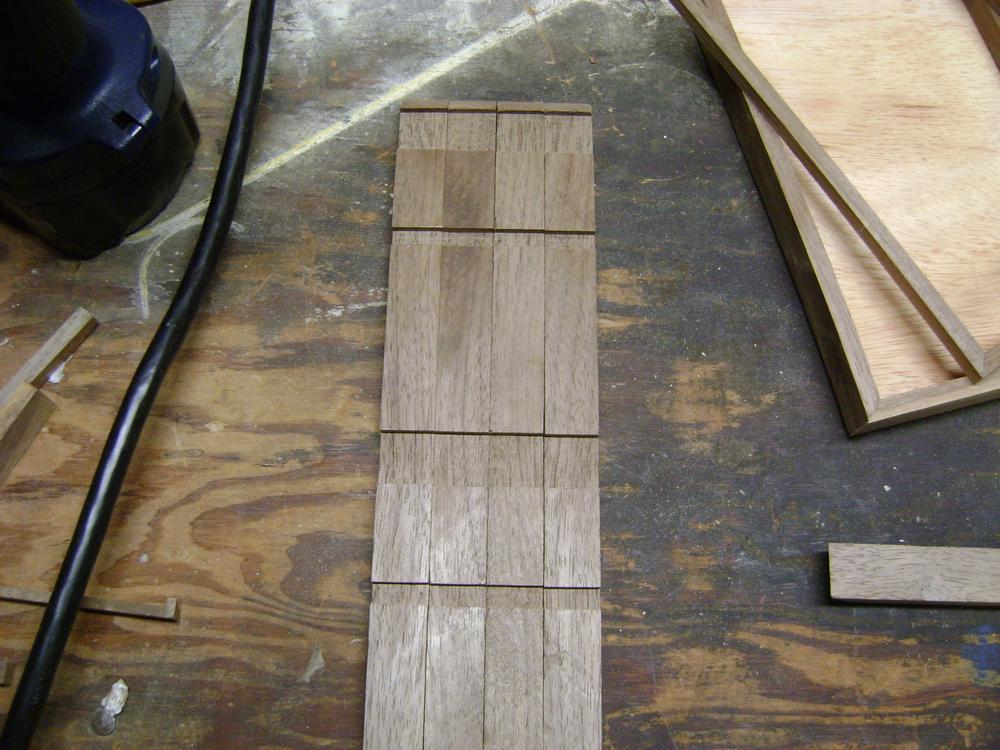
Now, we’ve got the boxes in which the spices will go; do the same for the rails, only without the plywood. After that,
it’s time to cut the dadoes in the rails.
And we’ve got all the parts to make one!
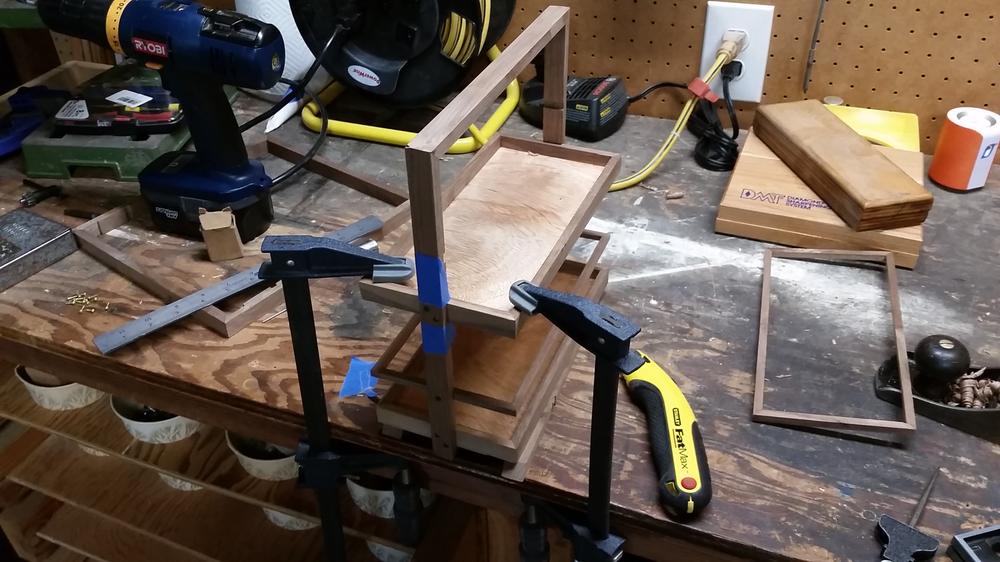
Now it’s time to glue together the rail.

At this point, for the first rack, I trimmed off all the dried glue (pro tip; wipe glue off while it’s still wet; it sucks
to have to get it off when dry) and then sanded all the surfaces. For the second and third, I decided I didn’t want to
do any sanding, mostly because I didn’t want to deal with the dust or noise, so I used my #5 plane to smooth out the
joints and get everything even, a block plane to soften the corners just a bit, and a cabinet scraper to get everything
nice and smooth. Man! It felt great to do it that way, and it turned out pretty darn well.
Once the sanding is one, it’s time to assemble the whole thing. I used counter-sunk small screws rather than glue and I
think it turned out pretty okay.
Once the assembly was done, finished them with some Danish oil and that’ll get you the first image in the article. All
in all, I hope my mom likes it; she says she does. I’m excited to see them installed in her cabinet!