We had some ugly sliding doors on the closet. I mean ugly. Nice and 70’s brown. Top that off, the doors swung back and
forth very easily and fell off even easier. Every time Cora would open the door, it would come off the track, making
frustration happen. So, we have to do something about it.
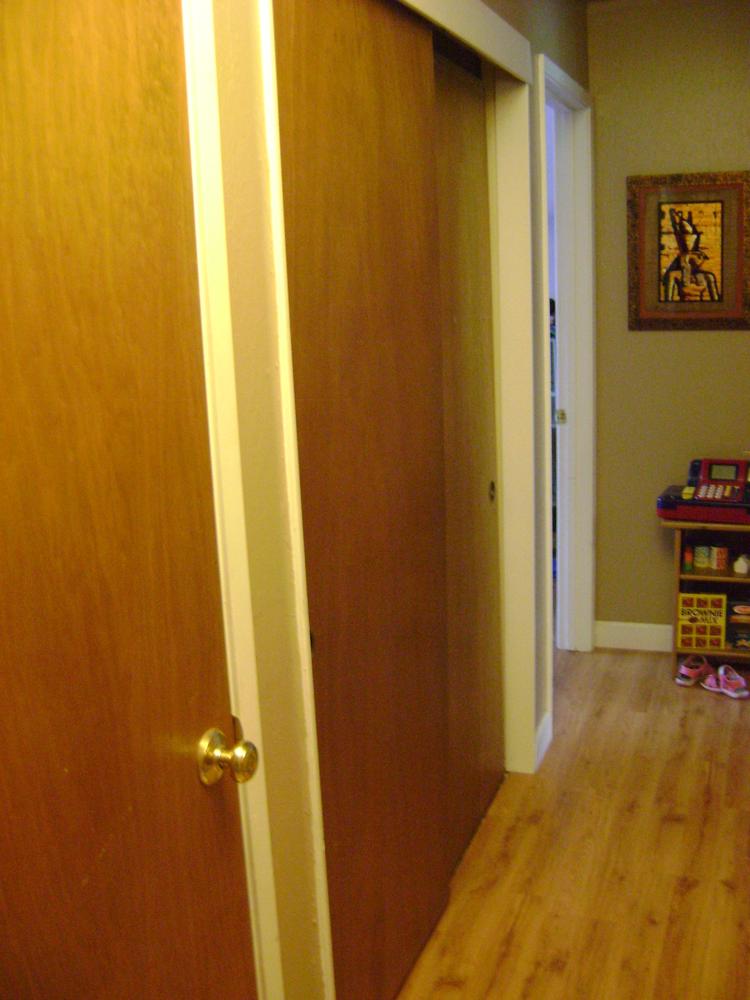
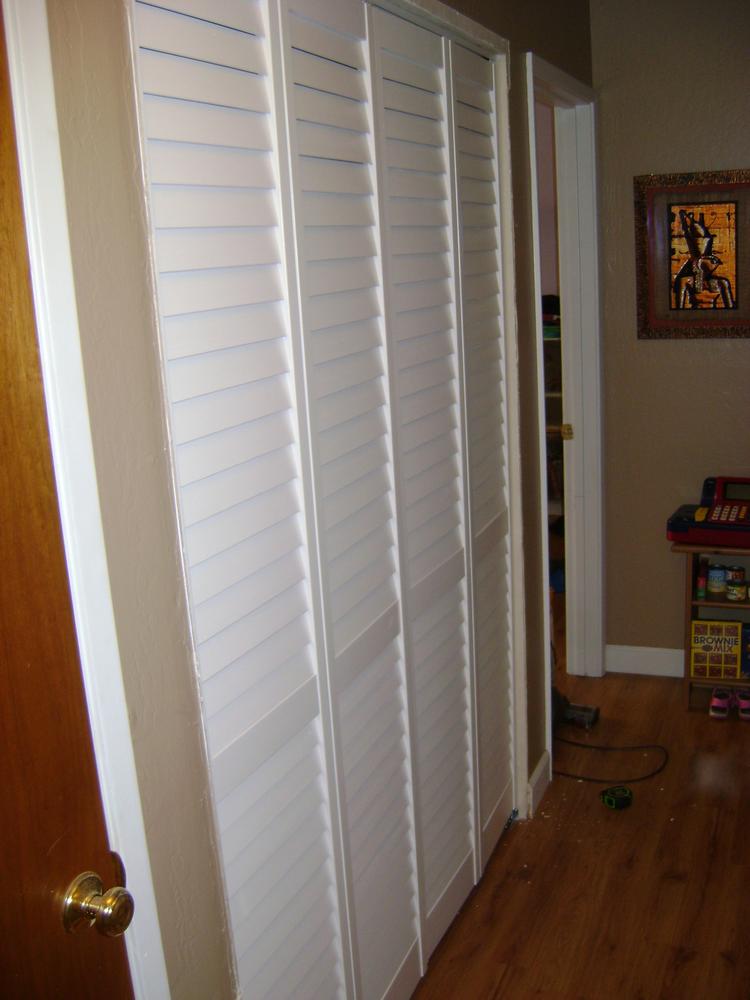
Pictured: ugly
For a replacement, we have our eye on some louvered bi-fold doors. Not too expensive, good looking, easy to install, you
know. All the good stuff.
Well, “easy to install”; that’s the hard part! The first thing I had to do was pull off the trim; that tore up the
drywall, so I already have repairs to do. The worst thing is I have to do the repairs before I can even really start!

After a go round with a bunch of spackle, I was finally able to start working. I probably should have finished it all
off, sanded, and painted before putting everything in. However, I can just take the doors out later. Any rate, now to
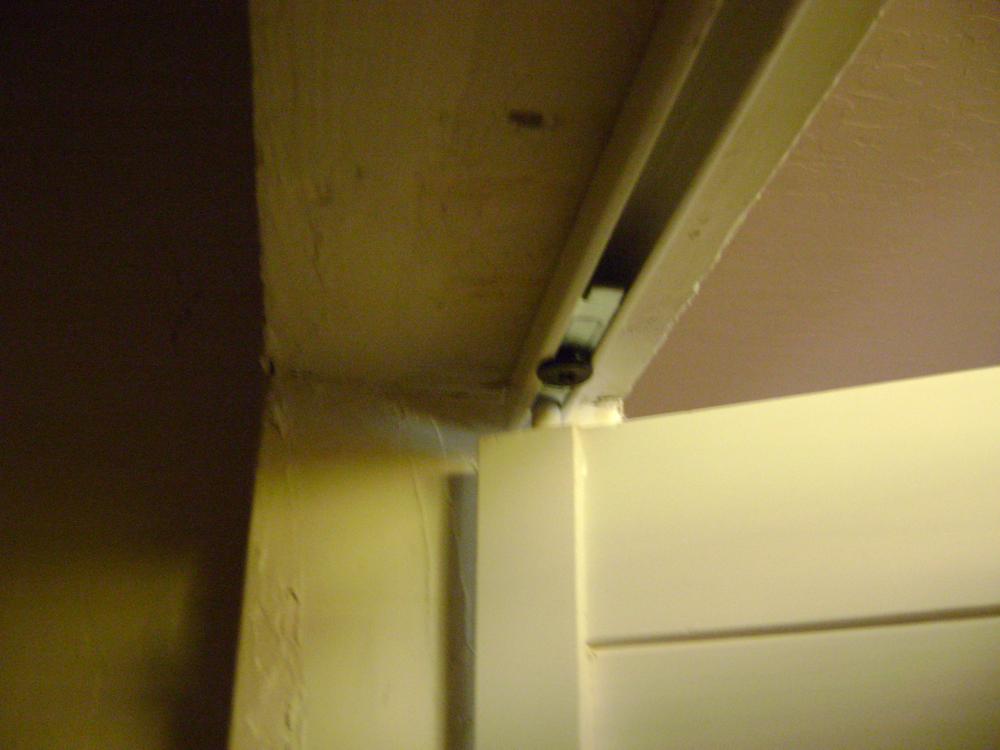
the “easy” part! First, we just measure and install the tracks so they’re even with the front of the jamb. I found that
an inch in looked the best.

Now, you have to be sure to put in the sliding things in the tracks before everything gets fully installed; otherwise
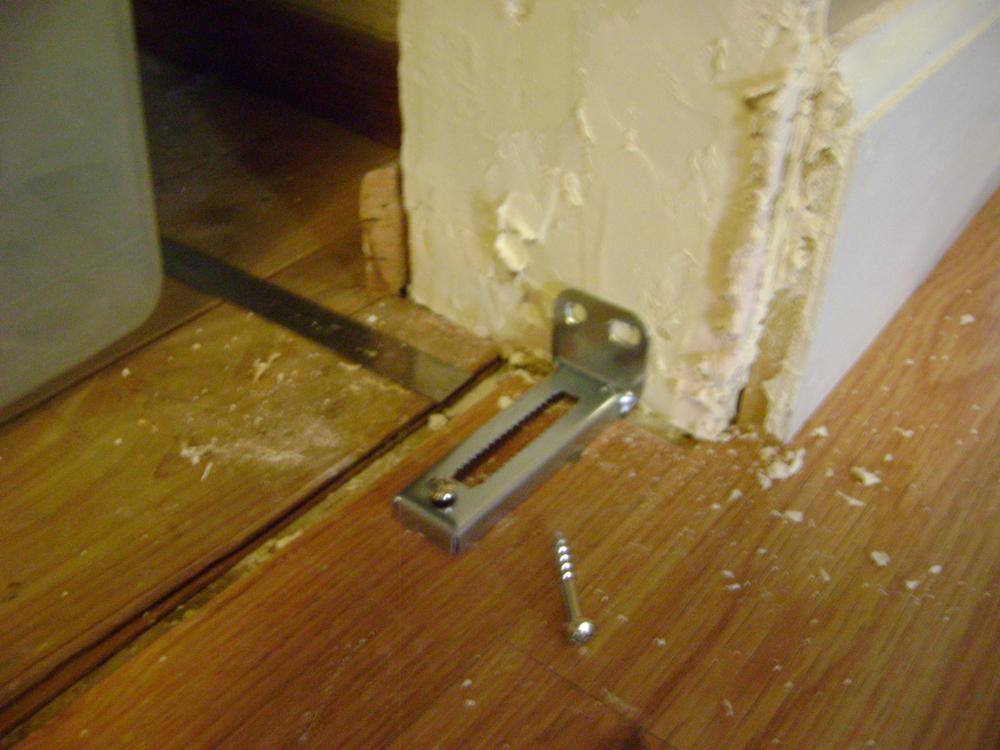
you’ll have to loosen stuff up to put it on. That sucks. Then, install the bottom brace directly underneath the top
track.
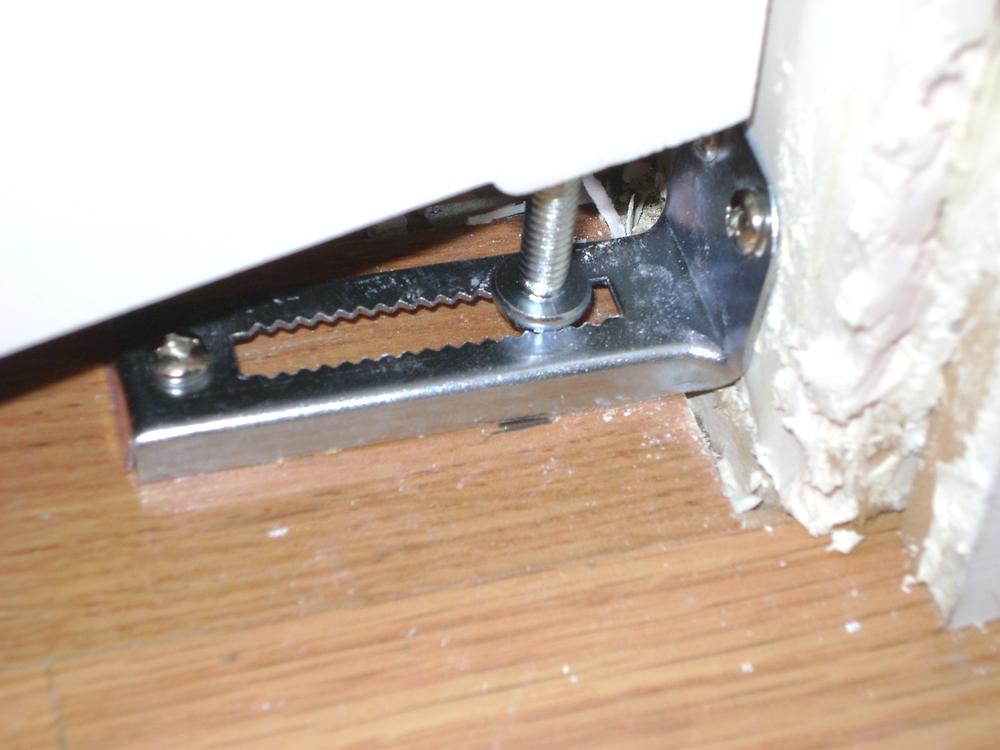
Believe it or not, we’re almost done. Next, you need to tap in the dowels into the top two holes and the bottom.
The two on top are at the corner next to the jamb and at the corner of the lead panel; the one on the bottom is in the
bottom corner next to the jamb. The way it works is that the top dowels slide into the rack, then the bottom dowel,
which has a kind of gear shape, fits in the bottom brace to keep it from moving. Pretty clever, easy to put together.
Now, it’s just a matter of moving the top sliding adjuster and the bottom adjuster back and forth till the doors are
even and come together. BUT! Turns out my door is more of a trapezoid than a rectangle, so even though the top has
enough clearance, the bottom doesn’t quiiiite meet up. So, we have to trim the doors. Enter the power planer!
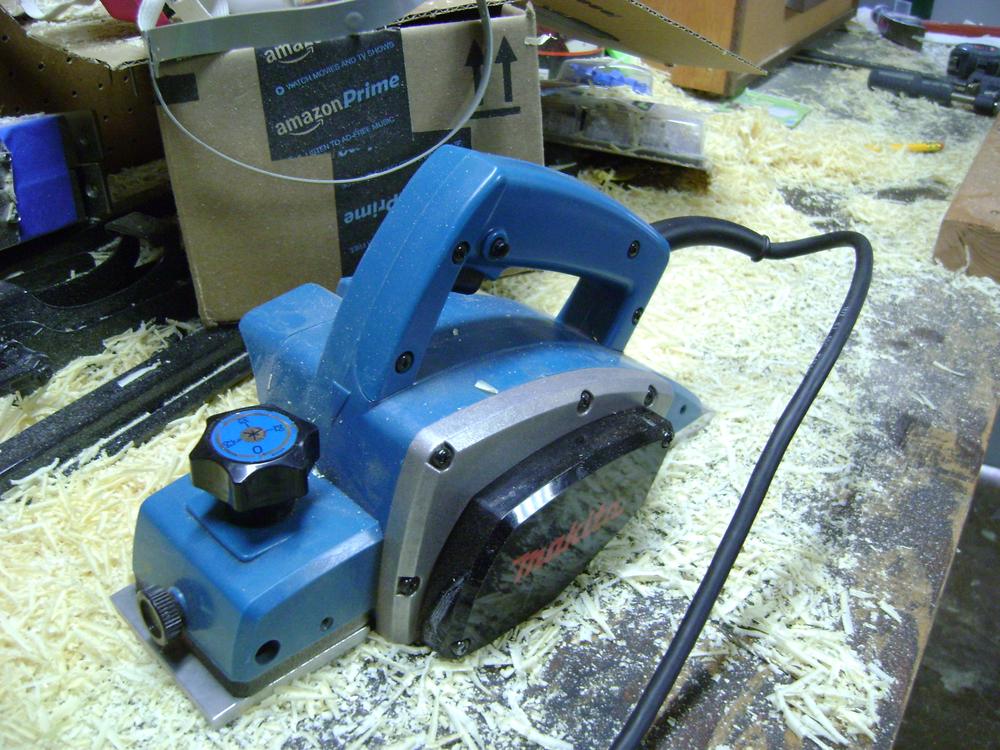 And his friend Tons Of Shavings!
Even though I was using the planer, it still took quite a bit of time to get everything fitting. In all, I removed
almost 3/4” of material from the doors; I still need to go back and round over the edges and paint. But now, the doors
fit, are flush, are level, are in line with each other, look great. Most importantly, they passed the Cora test; she said
“they’re so easy to open!”
Awesome.