Quite some time ago, I started building a playhouse for Cora. I had to put completing the project on hold
for a while, but now I’m ramping up to do the next stage. I’ve got the lumber, the hardware, and some time coming up,
so I’m kinda stoked. As I’ll be doing framing for the walls, much of this stage will be cutting 2x4s to length.
Since I don’t have a chop saw, and since cutting 2x4s squarely AND quickly can be difficult, I decided to make a jig.
Behold, the FENCERATOR 9000™!
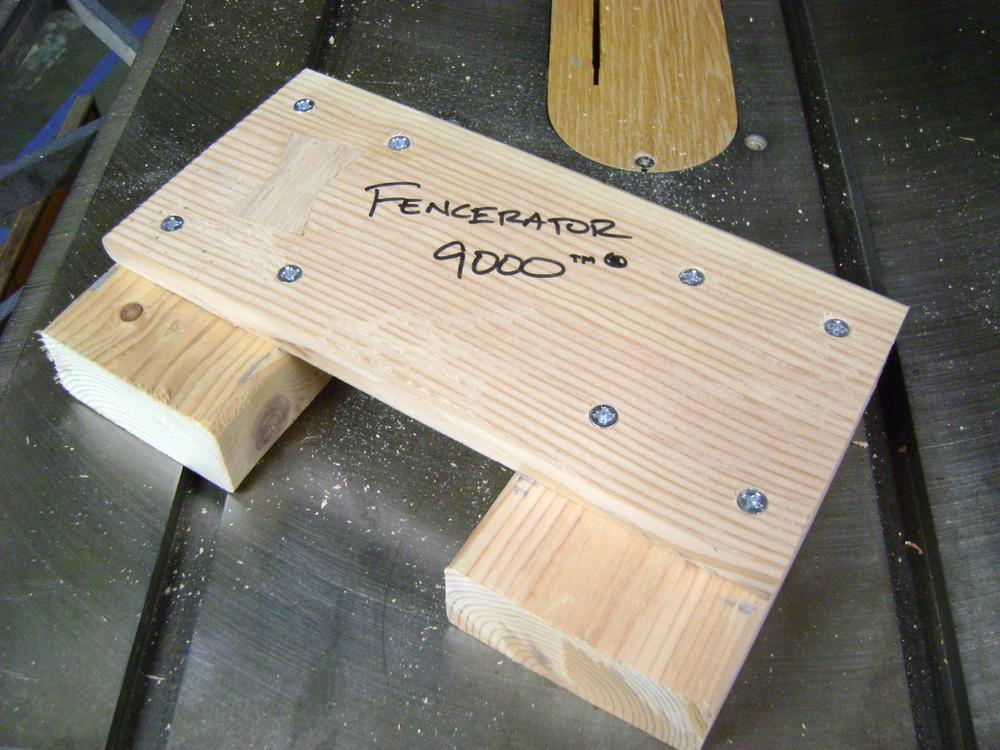
Okay, so it doesn’t look like much, but it should do the job quite well. Essentially, you clamp this down on the 2x4,
line up the longer ends of the jig with the cut line, and just run the circular saw against the cross-piece. Zing! A
square end.
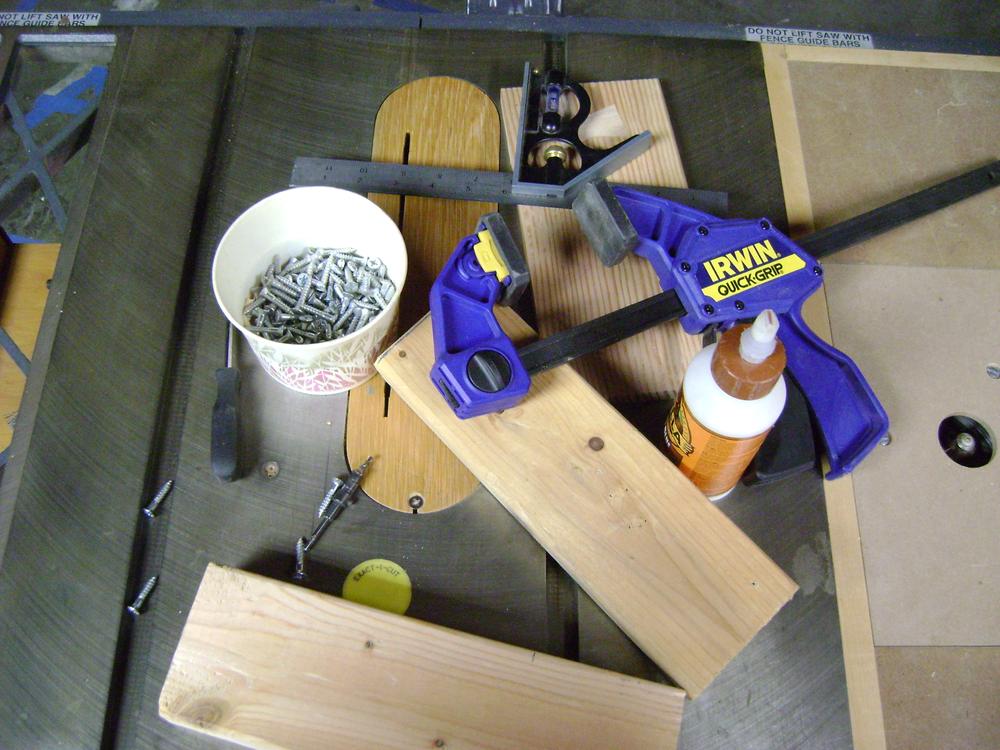
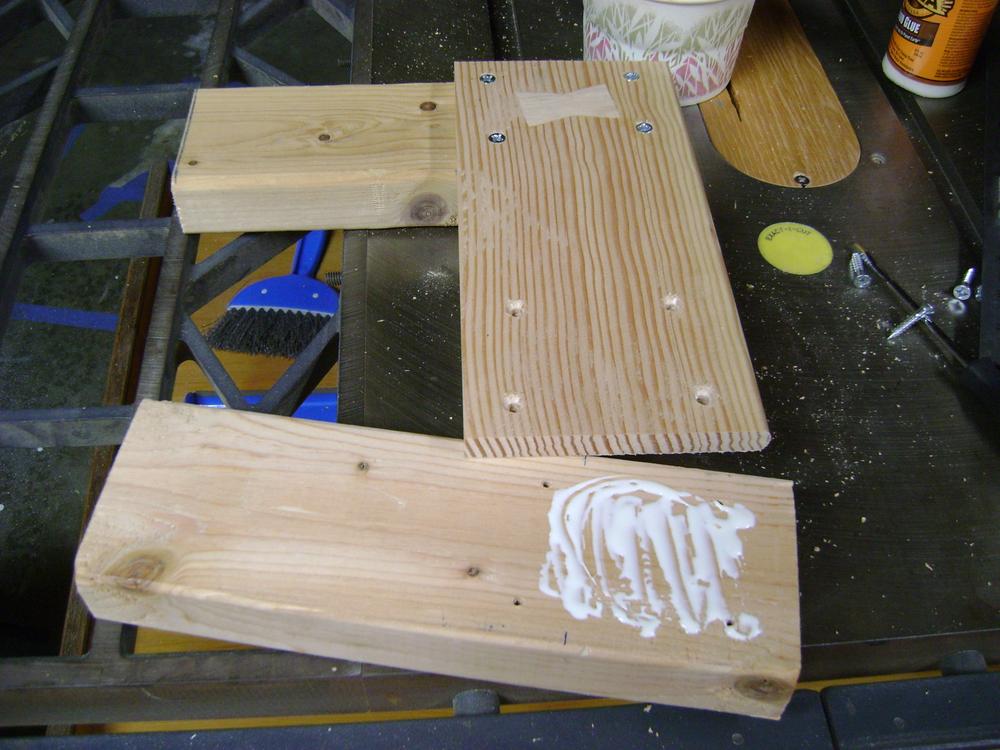
Building it was simple; I used a couple chunks of 2x4, another piece of 1/2” wood with a straight edge, glue, clamp, and
screws. Oh, and a carpenter’s square. That is SUPER important.
First step is to drill and screw the straightedge board to one of the 2x4s, making SURE that it’s square. I squared up
the boards, clamped them, and drilled and screwed in two screws before I released the clamp. Then, after that, I checked
for square again so I could make any adjustments
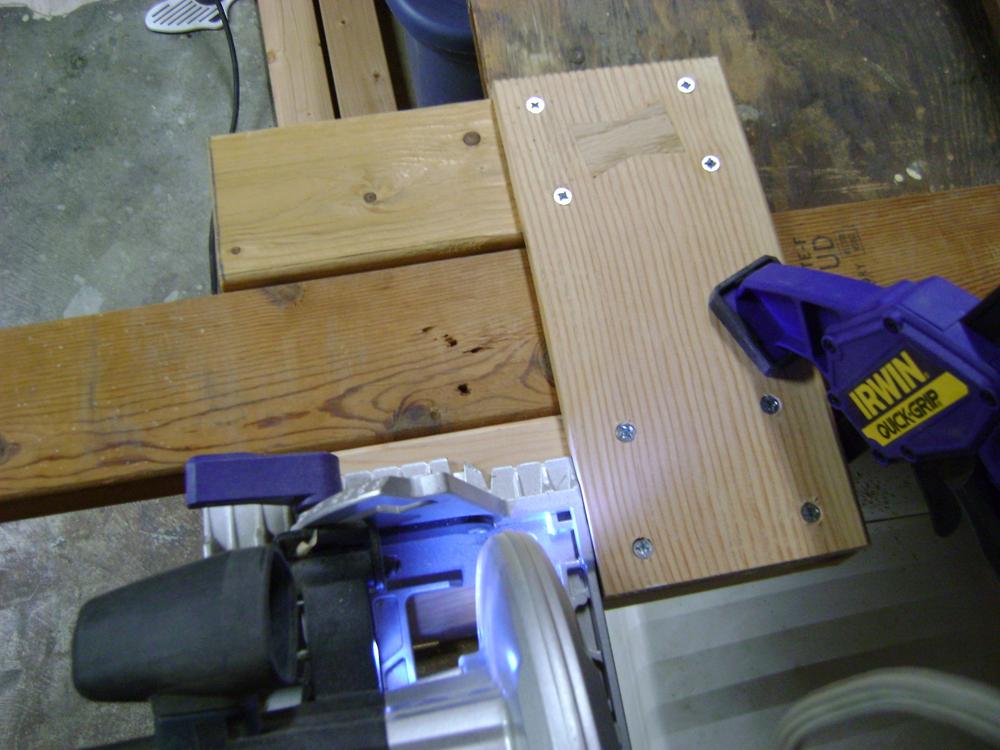
After I was sure that the joint was square, I placed the two boards on a 2x4, the other piece going into the jig on the
other side for spacing, pulled everything snug, and clamped that joint together.

I then gave it the same treatment as before: drill two holes while clamped, check for square, unclamp, and drill and
screw the other two.
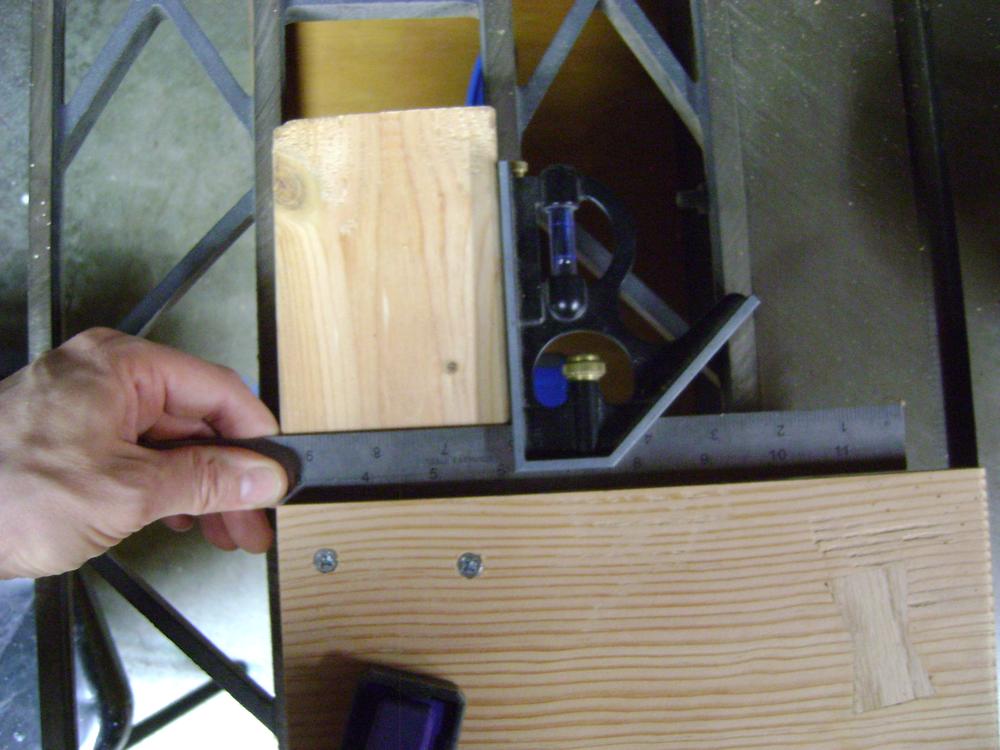
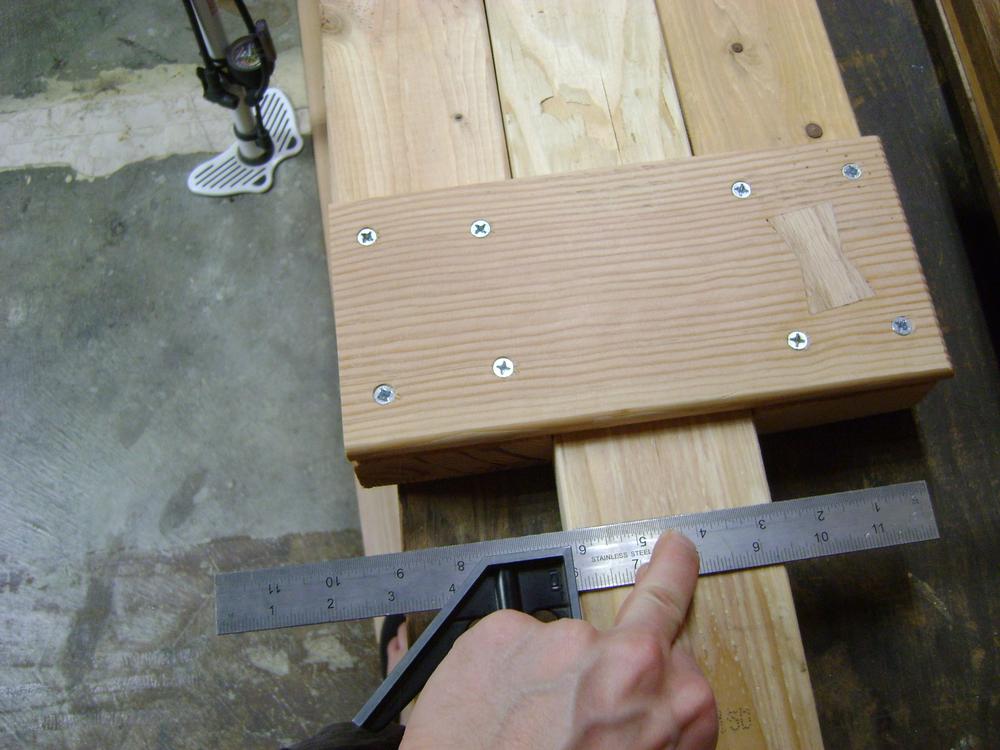
To check the final squareness, I put the jig on a 2x4, made sure it was snug (it was!), and scored a line. Using my
square, I checked the squareness of the line and was pleased with the result.
Since no woodworking project is complete without glue, I decided to make the joints a bit more solid and glue them up.
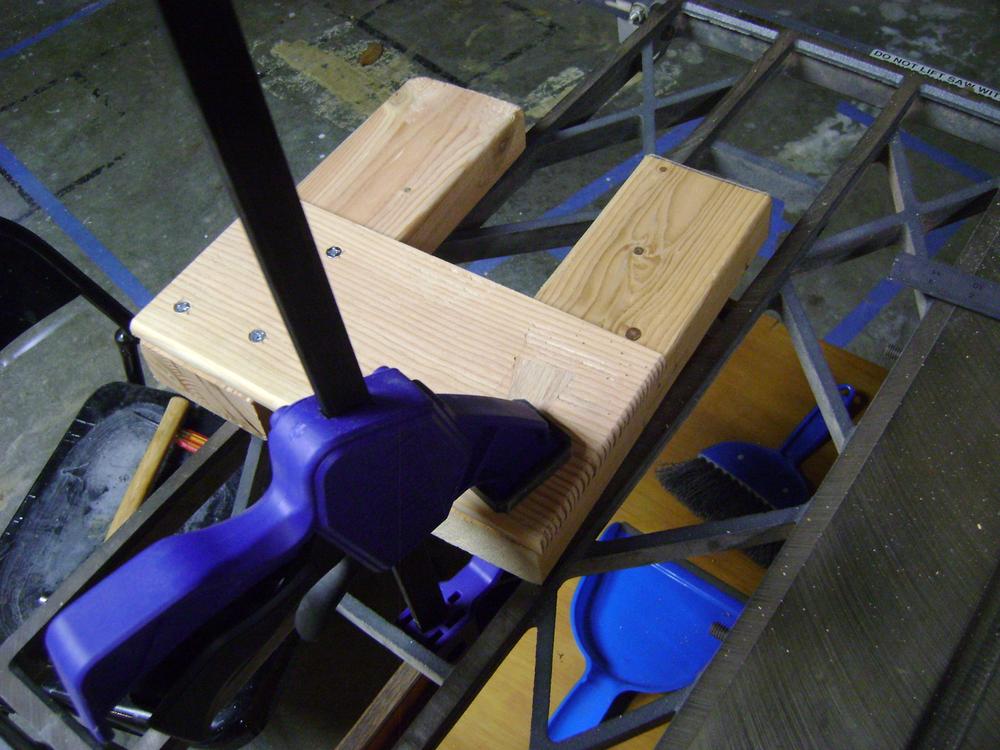
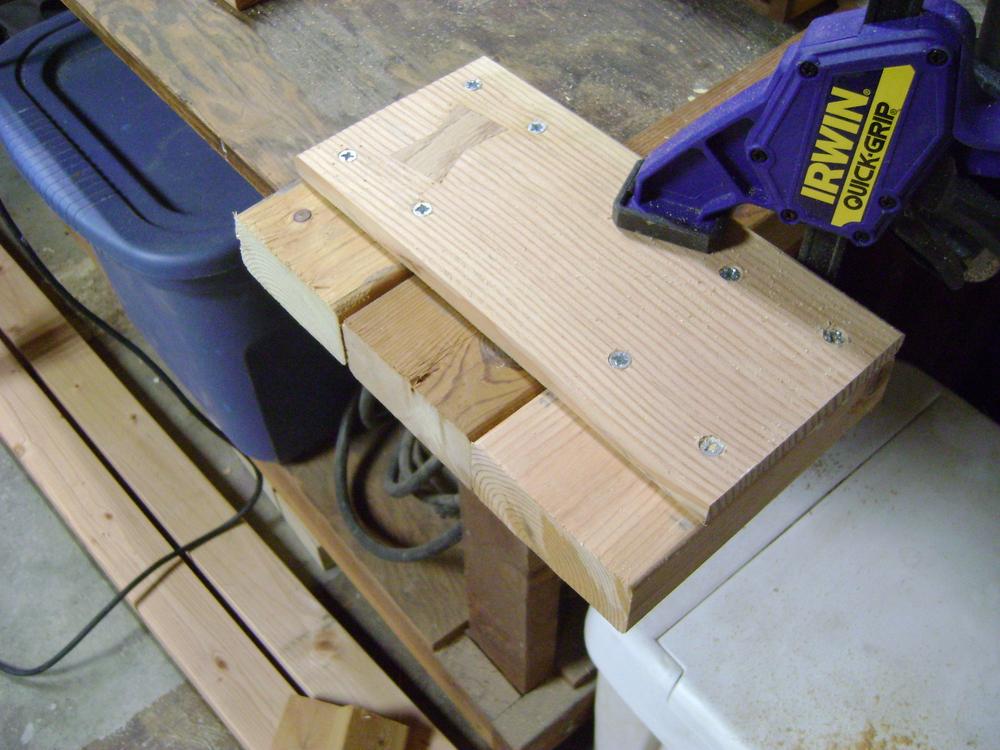
The final step is to cut the jig 2x4s to the right length, to the edge of the saw. To do this, I simply clamped up the
jig as I intend it to be used and ran the circular saw across it.
And that’s about it! I can clean it up some if I like, but I don’t think it needs it. Done!
This will make cutting the lumber for the studs nice and easy so I can build the walls up and get the project in motion.
And about that, I’ll be giving progress updates as they come. Till then, cheers!